DIY home repair is one of those things that looks either ridiculously easy on YouTube or impossibly intimidating when the problem is in your own house at 9:30 at night. I’ve been on both sides of that. After three houses and a bunch of expensive lessons, I can tell you this: a lot of common repairs are absolutely worth doing yourself, and a few are very much not. The trick is knowing the difference before you waste a Saturday, buy the wrong tool, or turn a small issue into a bigger one.
Start With Repairs That Save Money Fast
The best DIY jobs are the ones with low risk, cheap materials, and an immediate payoff. Think running toilets, loose cabinet hardware, drywall dings, cracked caulk, clogged sink traps, drafty weatherstripping, and dripping faucets with simple cartridge replacements. These are the kinds of repairs that contractors often charge $150 to $400 to handle, even though the actual parts might cost $8 to $40.
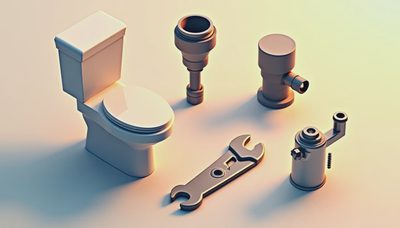
A running toilet is a perfect example. In many cases, a flapper, fill valve, or chain adjustment solves it. That’s a half-hour job, and even if you replace the full toilet repair kit, you’re usually still under $30. Same story with old caulk around a tub. It looks terrible, lets water get where it shouldn’t, and makes a bathroom feel older than it is. Pulling it out and laying down fresh kitchen-and-bath silicone is not glamorous, but it works.
This is the heart of smart diy home repair: fix the boring stuff first. The money saved is enough to buy a case of beer, and more importantly, you stop little issues from quietly damaging the house.
Build a Small Tool Kit Before You Chase Fancy Solutions
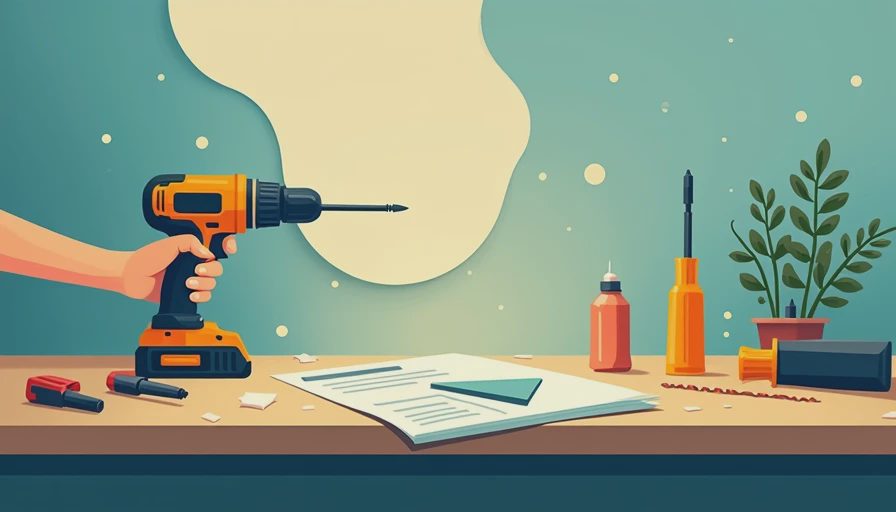
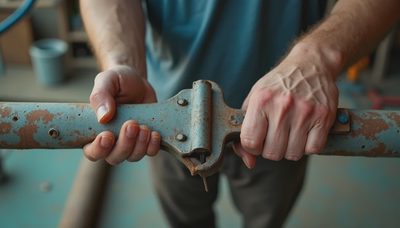
A lot of homeowners overspend because they buy project-specific junk instead of a few solid basics. You do not need a contractor trailer in your garage. You need a dependable starter kit that covers most common repair work. For me, that means a cordless drill, a good set of screwdrivers, tongue-and-groove pliers, a utility knife, a stud finder, a caulk gun, a putty knife, a tape measure, a level, and a decent flashlight or headlamp.
If you can swing it, add a small wet/dry vac and an adjustable wrench. Those two earn their keep constantly. I’ve used a shop vac for water around a water heater, drywall dust, clogged condensate messes, and random kid disasters. Don’t worry, it’s not expensive.
Brand-wise, Ryobi is popular for budget-friendly homeowner tools, while Milwaukee and DeWalt usually make more sense if you know you’ll use them hard. For occasional diy home repair, I’d rather see someone buy one decent drill and the right fasteners than a pile of gimmicky tools that solve one problem badly.
The real win is confidence. Once you know where your tools are and how they feel in your hand, small repairs stop feeling like a major event.
Know the Difference Between Cosmetic, Mechanical, and Dangerous
This is where people get into trouble. Not every repair deserves the same level of confidence. I break home fixes into three buckets: cosmetic, mechanical, and dangerous. Cosmetic repairs include patching nail holes, repainting trim, regrouting a small area, swapping hardware, or adjusting doors that rub. These are beginner-friendly and forgiving.
Mechanical repairs are things like replacing a toilet fill valve, changing a faucet cartridge, installing a new garbage disposal, or swapping out weatherstripping on an exterior door. These are still realistic for homeowners, but you need to slow down, shut off water or power when needed, and actually follow directions.
Dangerous jobs are where diy home repair should stop for most people. Main electrical panel work, gas line changes, major roof repairs, structural wall changes, and anything involving significant mold, sewage, or active leaks inside walls should move to a licensed pro. I’ve already dealt with this problem for you: the most expensive mistake is usually assuming a risky job is “basically simple.”

If a repair can flood the house, start a fire, weaken the structure, or create a safety issue your family won’t see until later, that is not the place to learn by trial and error.
Use a Simple Decision Test Before You DIY
Before starting any diy home repair job, I like a five-question filter. First: if this goes wrong, what’s the downside? A crooked shelf is annoying. A bad plumbing connection behind a wall is a disaster. Second: can I isolate the problem safely by shutting off water, power, or access? Third: do I understand the full job, not just the first ten minutes of it? Fourth: are the tools and parts easy to get locally at Home Depot, Lowe’s, or a hardware store? Fifth: will I still save meaningful money after buying what I need?
That last question matters. Sometimes a “cheap” repair becomes expensive because you need specialty tools, repeat trips for parts, and four hours of your weekend. Other times, the numbers are great. A $12 door sweep that cuts drafts, a $20 toilet kit, or a $15 tub of patching compound is a strong return.
If you answer yes to safety, access, understanding, and savings, go ahead. If you’re guessing on two or three of those, pause. Getting one estimate from a handyman or licensed trade pro can be cheaper than repairing your repair.
The Best DIY Home Repair Jobs for Ordinary Homeowners
If you want a practical shortlist, here’s where I’d start. Recaulk tubs and sinks. Fix running toilets. Replace old showerheads. Patch small drywall damage. Tighten loose hinges and knobs. Install shelves with proper anchors or into studs. Replace worn weatherstripping. Unclog sink traps. Clean out dryer vents. Swap old smoke alarm batteries or replace expired units. These jobs are useful, low drama, and teach you how your house actually works.
The reason diy home repair gets easier over time is that houses repeat themselves. Once you’ve fixed one sticky door, the next one is faster. Once you’ve replaced one faucet cartridge, you stop panicking about every drip. That’s a huge shift for homeowners with older houses, because little failures never arrive one at a time.
I’m also a big believer in repair-first thinking. Before replacing a toilet, check the internals. Before replacing a door, adjust the hinges. Before paying for a new vanity light, make sure the issue isn’t just a loose wire at the fixture box and only if you can safely turn off the breaker and verify power is off. Don’t trust those marketing accounts that act like every small problem requires a full remodel.
When Paying a Pro Is Actually the Smart Budget Move
Some jobs look expensive until you compare them with the cost of getting them wrong. That’s when hiring out makes sense. Electrical troubleshooting beyond basic fixture swaps, hidden plumbing leaks, roof penetrations, HVAC refrigerant issues, foundation cracks with movement, and water intrusion around windows are all good examples. A capable pro is not just selling labor. They’re selling diagnosis, speed, and lower risk.
I’ve overestimated my own savings before. Spending $300 to $600 on a plumber to solve a leak correctly can be smarter than spending $140 on tools and parts, losing a full day, and still ending up with damaged drywall. Same with electrical. Replacing an outlet cover is one thing. Diagnosing why a circuit keeps tripping is something else.
The goal with diy home repair is not to prove you can do everything. It’s to spend wisely, avoid scams, and handle the jobs that make sense for a regular homeowner. Start small, buy tools slowly, and build judgment before ambition. That’s how you save money without creating a second project out of the first.
— Sam, an ordinary homeowner still struggling with the house.


No letters yet — pray write the first.