Storm Damage Roof Repair Process: Steps to Take After a Storm
After a big storm, your roof might look fine from the ground, but hidden damage can lead to leaks and costly repairs down the road. That’s why understanding the storm damage roof repair process is crucial for every homeowner. I’ve dealt with this twice now, and each time I learned something new about what to do first and what to avoid. Let me walk you through the exact steps I took—and the mistakes I made so you don’t have to.
1. Stay Safe and Assess from the Ground
Don’t climb onto a wet or damaged roof after a storm. That’s how people get hurt. Instead, grab a pair of binoculars and walk around your house. Look for missing shingles, dented gutters, or debris in the yard. On my first storm, I spotted a torn section near the chimney from the ground. That saved me a hospital visit. Also check your attic for daylight or water stains—those are clear signs the storm damage roof repair process needs to start right away.

2. Document Everything for Insurance
Before you even think about hiring a contractor, take photos and videos of all the damage. Get multiple angles—roof sections, gutters, interior ceilings. This documentation is your best friend when filing a claim. I learned the hard way: after my second storm, I missed a small dent in a vent cap, and the adjuster called it pre-existing. Don’t let that happen to you. Write down the date and time of the storm, too. Insurance companies want details, and a thorough record speeds up the storm damage roof repair process.
3. Temporary Repairs to Prevent Water Damage
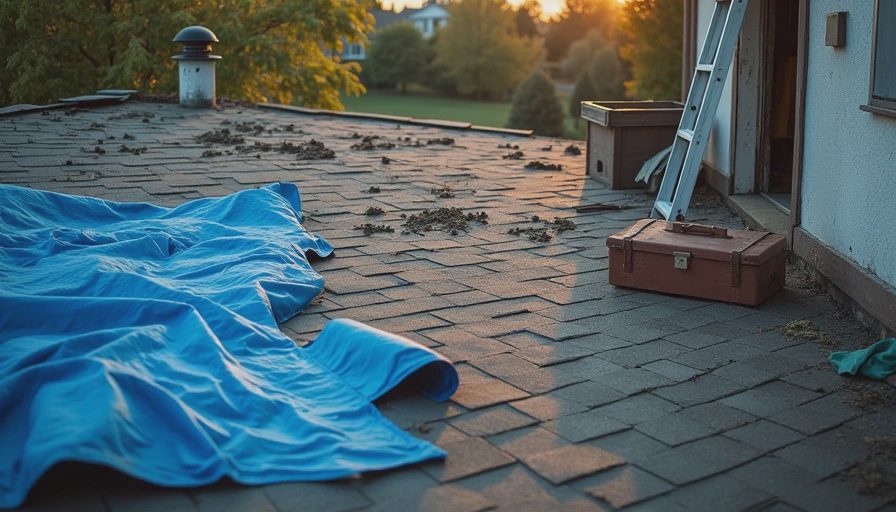
Your roof might have holes or exposed areas that let rain in. Until a pro arrives, cover those spots with a heavy tarp. Secure it with 2x4s or sandbags, not just bungee cords. I once used cheap bungees, and a wind gust ripped the tarp off overnight—causing water damage in my living room. A temporary patch costs less than $50 but can save you thousands. This step is part of the storm damage roof repair process you shouldn’t skip.
4. Choosing the Right Roofing Contractor
Not every roofer is honest after a storm. Look for local companies with good reviews, proper licensing, and insurance. Get at least three written estimates. I once went with the cheapest bid out of desperation, and the crew left nails in my driveway and patches that leaked. A trustworthy contractor will explain the storm damage roof repair process clearly and not push you to sign a fast contract. If they knock on your door unsolicited, that’s a red flag.
5. The Roof Repair Process Step by Step
Once you hire someone, here’s what a typical repair looks like: First, they set up safety equipment and remove damaged shingles. Then they inspect the underlayment and replace any rotten decking. After that, they install new shingles, flashing, and seal around vents. The crew should clean up all debris and magnetic sweep for nails. For my last repair, the whole job took two days, and the final cost was $2,800 for a medium-sized section. A detailed scope of work is part of a good storm damage roof repair process.
6. Final Walkthrough and Payment
Don’t hand over the full payment until the job is complete and you’ve inspected everything. Walk around the house, check the gutters for nails, and look at the edges of the repair. I recommend holding back 10% until you’re satisfied. Also, make sure the contractor provides a warranty for materials and workmanship. The storm damage roof repair process doesn’t end when the crew leaves—it ends when you’re confident the roof is solid for years to come.
Common Mistakes Homeowners Make During the Process
Even with a clear storm damage roof repair process in hand, many homeowners trip up on simple things. One big mistake is rushing to file a claim before getting a professional inspection. I did this on my first storm: I called my insurer right away and gave a rushed description of damage. The adjuster came out and cut me a check for only $800, based on my verbal report. But when the roofer arrived, he found three times the damage I had seen. The total repair cost me $2,400, and I had to fight the insurance company for a supplemental payment. The lesson: always get a licensed roofer to do a full inspection before you call your adjuster. That way, you have a written estimate to show them from the start.
Another common mistake is signing a contract that includes an assignment of benefits (AOB) clause. Some contractors ask you to sign over your insurance benefits to them, meaning they get paid directly by your insurer. This can lead to inflated charges and disputes later. I recommend avoiding any contract that gives the roofer control over your claim payments. Instead, keep control yourself and pay the contractor after the work is done.
Finally, don’t forget to check your roof after the repair crew finishes. I made this mistake and ended up with a nail in my driveway that punctured a tire. A good roofing company will clean up, but it’s smart to do a final sweep yourself. Use a magnetic broom if you have one. A little extra effort now saves headaches later.
Final thought: take your time, ask questions, and trust your gut. A storm-damaged roof is stressful, but following the right steps makes it manageable. Don’t worry, it’s not expensive if you handle it smartly. — Sam, an ordinary homeowner still struggling with the house.





No letters yet — pray write the first.