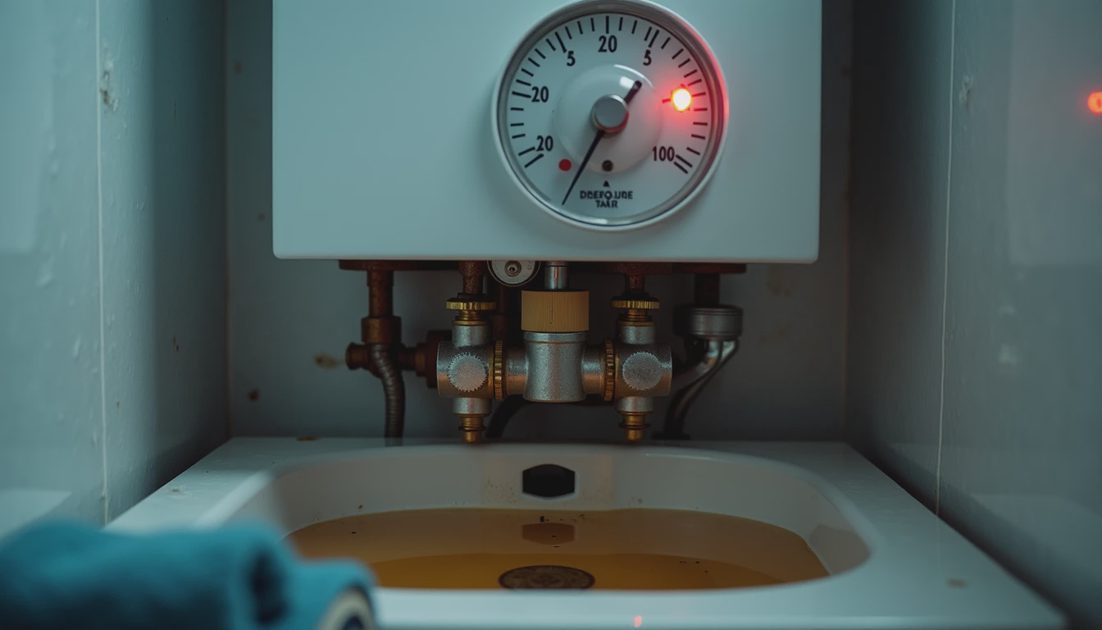
Last winter our water heater suddenly started making loud banging noises every time it turned on. The hot water also became inconsistent — sometimes scalding, sometimes barely warm. I almost called a plumber right away, expecting a $500+ repair bill.
Instead, I spent 45 minutes troubleshooting and fixed the main issue for under $80. That experience reinforced why I always check first before calling professionals for water heater problems.
I’ve dealt with water heater issues in all three houses. Here’s the exact order I follow now when something acts weird.
Safety first — never skip this
Water heaters involve electricity, gas, and very hot water. Before touching anything:
Turn off the power at the breaker (electric) or the gas valve (gas)
Turn off the cold water supply valve
Let the unit cool down if it’s been running
Wear gloves and eye protection
If you smell gas at any point, stop immediately and call a professional.

Step 1: Identify the symptoms
I start by writing down exactly what’s happening:
No hot water at all?
Lukewarm water?
Loud banging, popping, or rumbling noises?
Leaking from the bottom or top?
Water pressure seems low?
Unit is very old (over 12-15 years)?
Different symptoms point to different causes.
Step 2: Check the obvious external things
Thermostat settings — Make sure both upper and lower thermostats (on electric units) are set to 120°F. Higher settings waste energy and cause more sediment buildup.
Power supply — Check the breaker. For gas units, confirm the pilot light is on.
Water supply valves — Ensure the cold water inlet valve is fully open.
Step 3: Flush the tank (most common fix)
Sediment buildup is the #1 cause of noisy water heaters and reduced efficiency in older homes like ours.
I attach a garden hose to the drain valve at the bottom, run it to a floor drain or outside, and flush the tank. You’ll usually see nasty brown water coming out. I do this until the water runs mostly clear.
On our current heater, flushing alone fixed the banging noises and improved hot water recovery time dramatically.
Step 4: Test the heating elements (electric units)
Most homes in our area have electric water heaters. The elements burn out over time.
I use a multimeter to test continuity on both upper and lower elements. If one is bad, replacing it costs $15–$40 and takes about 30 minutes. I’ve replaced four elements across different houses.
Step 5: Check the anode rod
This is the “sacrificial” rod that prevents tank corrosion. If it’s mostly eaten away, the tank itself will start corroding soon. Checking it requires unscrewing it from the top — not always easy, but worth doing every few years.
Step 6: Inspect for leaks
Look at all connections, the pressure relief valve, and the bottom of the tank. A small leak at the bottom usually means the tank is failing and needs replacement.
My complete troubleshooting checklist
Note the exact symptoms
Verify power/gas supply
Check thermostat settings
Flush the tank thoroughly
Test/replace heating elements if needed
Inspect anode rod
Check pressure relief valve operation
Look for leaks and corrosion

Tools I keep specifically for water heater work
Multimeter / voltage tester
Garden hose
Socket wrench set (for elements and anode rod)
Screwdrivers
Flashlight and headlamp
Bucket and towels
Replacement elements and anode rod (I keep common sizes in stock)
Total cost for the whole kit: around $60. It’s paid for itself many times.
Real experiences from our houses
House #1: No hot water suddenly. I thought the unit was dead. Turned out the upper heating element had burned out. $28 part and 25 minutes later we had hot water again.
House #2: Loud rumbling and slow recovery. Heavy sediment from years of neglect. Flushing helped temporarily, but the tank was already corroding. We ended up replacing the whole unit.
Current House: Banging noises + inconsistent temperature. Flushing + replacing the lower element solved 90% of the problems. We also lowered the temperature to 120°F and noticed a nice drop in the electric bill.
When I stop and call a professional
Suspected gas leak or gas control valve issues
Leaking from the tank itself (not just a valve)
Electrical problems beyond basic element replacement
Unit is over 15 years old and needs full replacement
I’ve tried the basic fixes and it’s still not working
Preventive maintenance I do twice a year
Flush the tank (even a partial flush helps)
Test the pressure relief valve
Check for leaks around connections
Inspect the anode rod every 3–4 years
Vacuum the dust around the unit
These habits have kept our current water heater running well past the average lifespan.
The money reality
A plumber service call in Columbus usually runs $150–$250 just to show up, plus parts and labor. Most of the common issues I fix myself cost under $100 total. Even when I do need a new unit, knowing how to diagnose properly helps me communicate clearly with the installer and avoid being upsold.
Wendy appreciates not having cold showers while waiting for a plumber, and the kids don’t notice anything except that the water works reliably.
Don’t panic when your water heater starts acting up. Most issues are fixable with basic tools and a little patience. Take good notes, work safely, and only call a pro when you’ve exhausted the common fixes.
I’ve already dealt with noisy, unreliable water heaters more times than I’d like. Use this checklist and you’ll avoid a lot of unnecessary service calls.
The money saved is enough to buy a case of beer. Or maybe invest in a better water heater next time.
Don’t worry, it’s not expensive to check these things yourself first.


No letters yet — pray write the first.